Dishwasher Hookup: A Practical Installation Guide
Learn how to safely install a dishwasher hookup, including water supply, drain, and vent considerations. This step-by-step guide helps homeowners with DIY plumbing at home.

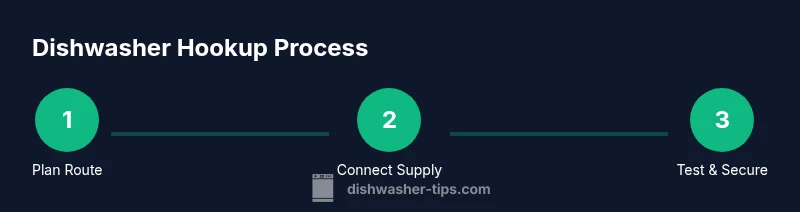
You’ll learn how to install a proper dishwasher hookup, including connecting the water supply, routing the drain, installing an air gap or disposer connection, and testing for leaks. This guide covers parts selection, safety steps, and common pitfalls, helping homeowners and renters complete a compliant setup with minimal tools at home.
Understanding the dishwasher hookup basics\n\
Water supply considerations and valve selection\n\
Drainage options: loop, air gap, and disposal connections\n\
Choosing compatible hoses and fittings\n\
Electrical safety and venting considerations\n\
Common installation mistakes and how to avoid them\n\
Maintenance habits after installation\n\
Tools & Materials
- Shut-off valve(Ensure the main water supply is off before disconnecting existing line)
- Flexible stainless steel supply line (compression)(4–6 ft length recommended; check fittings)
- Dishwasher install kit(Includes fittings and adapters; check for air-gap option if required by code)
- Adjustable wrench(8–12 inch for fittings)
- Teflon tape (PTFE)(Wrap clockwise 2-3 times on threads)
- Bucket(Catch any drips when disconnecting)
- Towels or rags(Keep the area dry during the job)
- Pliers(Helpful for stubborn fittings)
- Level(Verify dishwasher alignment during final setup)
Steps
Estimated time: 60-90 minutes
- 1
Shut off water and power
Before starting, turn off the kitchen water valve and the circuit breaker for the dishwasher. This prevents leaks and electrical hazards while you work.
Tip: Have towels ready to catch any residual water. - 2
Remove old supply line and inspect fittings
Carefully loosen and remove the existing supply line. Inspect the shut-off valve and any connectors for corrosion or wear so you can choose compatible replacements.
Tip: Take a photo of how connections are arranged for reference. - 3
Plan the routing of hoses and drain
Map a gentle path for the supply and drain hoses to avoid sharp bends and pinch points. Ensure the drain path will meet code requirements for loops or air gaps.
Tip: Leave extra slack but avoid dangle or strain on fittings. - 4
Install water supply line and shut-off valve
Install the new supply line onto the valve outlet using appropriate threads and sealant, then attach to the dishwasher inlet. Tighten gradually to avoid stripping threads.
Tip: Use a torque-limiting tool if available for even tightening. - 5
Connect drain hose and install air gap if required
Attach the drain hose to the dishwasher and route it to the sink drain or disposal. Install an air gap if your local code requires it and secure the hose with clamps.
Tip: Do not compress or kink the drain hose. - 6
Check fittings and test for leaks
With water off, slowly turn the supply back on and inspect every connection for leaks. Wipe dry and re-tighten any fittings that show moisture.
Tip: If a leak appears, re-seat the seal and re-tighten gradually. - 7
Run a test cycle and secure panels
Run a short cycle to confirm proper operation and drainage. Reattach any access panels and tidy hoses away from heat sources or sharp edges.
Tip: Monitor for a full cycle and be ready to stop if a leak develops.
People Also Ask
Do I need an air gap for my dishwasher hookup?
Many codes require an air gap. If your local rules demand it, install an air gap and connect the drain accordingly to prevent backflow.
Many codes require an air gap. Install it if your local rules demand it.
Can I reuse the existing shut-off valve?
If the valve shows corrosion or wear, replace it with a compatible shut-off valve. A faulty valve can cause leaks and improper shutoff.
If the valve is worn, replace it for reliability.
What size supply line should I use?
Most dishwashers use standard compression fittings; choose a flexible line that matches the valve and dishwasher inlet, and avoid overly long hoses.
Choose a line that matches your fittings and avoid excessive length.
How do I test for leaks without running the dishwasher?
With the water off, apply soapy water to joints and look for bubbles when you briefly open the supply valve. Tighten any leaky connections as needed.
Apply soapy water to joints and look for bubbles to spot leaks.
Is professional help required for electrical work?
If you’re uncomfortable with electrical wiring or outlets, hire a licensed electrician. Avoid DIY electrical work if you’re unsure about safety.
If in doubt, hire a licensed electrician.
What maintenance should I do after installation?
Periodically inspect hoses and clamps, replace worn components, and run a quick leak test after each cycle for the first few weeks.
Inspect hoses regularly and test for leaks after cycles.
Watch Video
What to Remember
- Plan route before starting
- Use correct hoses and valves
- Check for leaks after first cycle
- Secure all connections and panels